

How to Replace Earbud Tips Safely for Quick DIY Repairs
Hold the earbud body, pull the old tip straight off at its base, and push the replacement tip on until it clicks. That’s the entire job. It takes most people under five minutes, no tools required beyond your hands and a lint-free cloth.
The two-step version: remove the worn tip with steady, straight pressure (never at an angle), then align the new one with the connector and press until it seats fully. Skip solvents, sharp tools, or twisting hard on the connector stem. Once it’s on, run a quick check.
- Look at the tip: is it flush against the stem, with no gap or visible stem color?
- Tug gently: does it hold firm without sliding?
- Listen: does audio sound full, not muffled or tinny?
| Check | What you’re confirming |
|---|---|
| Visual seat | Tip sits flush, no connector visible through the base |
| Tug test | Tip resists a gentle pull without popping off |
| Sound test | Bass sounds full, outside noise is dampened |
Key Takeaways
A correct tip swap comes down to grip point, straight pressure, and a tug test to confirm the seal before you trust the earbuds again.
| Point | Details |
|---|---|
| Grip the body, not the nozzle | Stabilizing the earbud body prevents damage while removing or attaching tips. |
| Match material to need | Silicone holds up longer; foam seals tighter but typically wears out after several months of regular use. |
| Always run the tug test | A tip that resists a gentle pull is properly seated and sealed. |
| Use software fit tests when available | Tools like Apple’s Ear Tip Fit Test confirm seal quality before you rely on ANC. |
| Egwat for fit-focused upgrades | Egwat’s noise cancelling earbuds and accessories page offer sizing built to solve seal issues, not just mask them. |
Table of Contents
- What You Need Before You Start
- How Do You Remove Silicone and Foam Earbud Tips?
- How Do You Attach a Replacement Earbud Tip?
- How Do You Know the Fit and Seal Are Correct?
- How Do You Choose the Right Replacement Tips?
- How Do You Clean and Maintain Earbud Tips?
- What Do You Do When Tips Fall Off or Sound Muffled?
- Frequently Asked Questions
- Sources
What You Need Before You Start
Grab the right replacement tips first. Silicone tips work for most models; foam tips need a matched size since they compress differently. Have a lint-free cloth on hand, and tweezers if your fingers struggle with small stems.
- Correct replacement tips (silicone or foam), plus one size up and down if you’re unsure
- Lint-free cloth
- Tweezers (optional, for grip)
- Clean hands and a well-lit surface
Check for L/R markings before removing anything, so you don’t mix up sides.
Pro Tip: Warm foam tips in your closed fist for about 30 seconds before installing them. Warm foam rolls and compresses more easily, which means less fumbling at the connector.

How Do You Remove Silicone and Foam Earbud Tips?
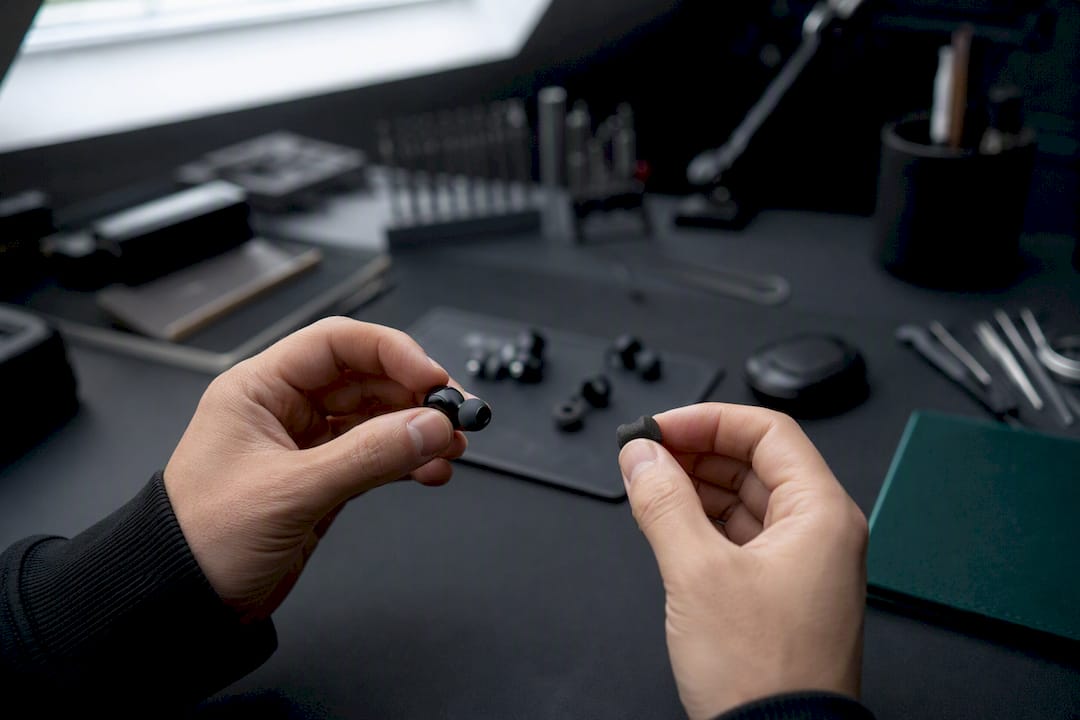
Removal technique depends on the material, but the grip point never changes: hold the earbud body itself, not the sound nozzle. Squeezing the nozzle risks pushing debris into the mesh or bending internal parts.
- Stabilize the earbud. Hold the body between two fingers so it doesn’t twist while you work.
- For silicone tips: grip the tip at its base, where it meets the connector, and pull straight out with steady, even pressure. If your fingers slip, wrap the tip in a lint-free cloth for better traction.
- For foam tips: gently roll or compress the foam edge as you pull rather than yanking straight back. Foam grips the stem tighter than silicone, and twisting hard can tear it.
- For AirPods Pro specifically: Apple’s own instructions call for gripping the tip near the connector and pulling straight out with steady pressure. Some users find rolling the tip’s edge inside out first gives a better grip before pulling.
| Material | Removal motion | Common mistake |
|---|---|---|
| Silicone | Straight pull at the base | Gripping the nozzle instead of the tip |
| Foam | Slight roll or compress, then pull | Twisting hard, tearing the foam edge |
Pro Tip: If a tip won’t budge after two gentle attempts, stop. Forcing it risks snapping the connector stem, which usually isn’t a $10 fix anymore.
How Do You Attach a Replacement Earbud Tip?
Attaching a new tip is really just removal in reverse, with one added step: alignment. Most tips have an oval or double-oval opening that must match the connector’s shape, or the seal won’t form correctly.
- Align the tip’s opening with the connector. Rotate it slightly if it doesn’t slide on easily.
- Push straight on until you feel or hear a click. Apple’s support guidance confirms this click, plus a gentle tug, as the standard fit check. Models without an audible click should sit flush, with no stem color showing through the base.
- For foam tips: compress the tip between your fingers, slide it onto the stem, then hold it in place for 10 to 15 seconds while it expands to fill the connector fully, following Comply’s installation guidance.
- Tug test. Pull gently on the tip. It should resist and stay put.
- Check the sound outlet. The tip needs to fully cover the mesh, not sit off center.
| Step | AirPods Pro | Other brands |
|---|---|---|
| Alignment | Oval connector match | Check manufacturer shape |
| Confirmation | Audible click | Flush seat, no visible stem |
| Extra step | Run Ear Tip Fit Test | Manual seal check |
How Do You Know the Fit and Seal Are Correct?
A tip that looks seated isn’t automatically sealed correctly, and a bad seal is the biggest reason people think their earbuds sound worse after a swap.
- Physical check: insert the bud, then tug gently. No pain, no looseness, no gap between tip and ear canal.
- Software fit test: if your earbuds support one, use it. Apple’s Ear Tip Fit Test and Acoustic Seal Test measure how well the tip blocks outside sound and confirm the seal before you rely on active noise cancellation for a flight or a commute.
- Listen test: play something with real bass. A proper seal delivers fuller low end and noticeably quieter surroundings. Muffled or thin sound usually means the tip is too small or not fully seated.
Pro Tip: Your left and right ear canals often aren’t identical in size. Don’t assume the same tip size works for both sides if one ear feels loose.
How Do You Choose the Right Replacement Tips?
Compatibility comes first. Tips are rarely universal. Even similar-looking connectors from different brands can differ enough that a tip seats poorly or falls off mid-workout, so check a manufacturer compatibility chart or shop by verified fit before buying.
- Silicone: durable, easy to wipe clean, holds up for months of daily use.
- Foam (memory foam): seals better and blocks more outside noise, but wears out faster and can’t be soaked in water.
- Sizing: most brands offer S/M/L, though some newer models expand that range considerably, including AirPods Pro’s larger size lineup. If you’re between sizes, buy an assorted pack rather than guessing.
Replacement tips typically run under $10 for a standard pair, whether you buy OEM from the manufacturer or a reputable third-party maker like Comply for foam options. Manufacturer sites and authorized retailers offer the safest bet for exact fit; third-party brands are worth it mainly for specialty materials or sizes your original brand doesn’t sell.
How Do You Clean and Maintain Earbud Tips?
Clean tips regularly, and know when a tip is beyond saving.
- Silicone: remove the tip, wipe with a lint-free cloth, and use mild soap and water only if your manufacturer allows it. Dry completely before reattaching, since trapped moisture can affect the seal.
- Foam: skip alcohol and harsh solvents entirely. Comply recommends limited washing with air drying only, since aggressive cleaners break down foam structure fast.
- Replace on schedule: heavy daily users should swap foam tips roughly every 2 to 3 months. Silicone lasts much longer unless it’s visibly damaged.
- Inspect before every wear: flaking, tearing, or a tip that’s lost its shape means it’s done. A degraded tip can shed fragments into the ear canal and irritate skin, so don’t push a worn tip past its limit to save a few dollars.
What Do You Do When Tips Fall Off or Sound Muffled?
Most problems trace back to the same three culprits: wrong size, incomplete seating, or a worn-out tip.
- Tips keep falling off: confirm compatibility first, reseat fully, and try a larger size or switch from silicone to foam for a tighter grip.
- Ears hurt after wearing them: drop to a smaller size or switch materials, and take listening breaks if the seal feels overly tight.
- Sound is muffled or ANC feels weak: reseat the tip, run a fit test if your earbuds support one, and try a larger size for a fuller seal.
- A tip is stuck or tears mid-removal: stop immediately. Forcing it risks damaging the connector, so contact manufacturer support instead of prying at it.
Pro Tip: Muffled sound right after a fresh tip swap almost always means the tip isn’t fully seated, not that the tip itself is defective. Reseat before assuming you got a bad pair.
Why Manufacturer Instructions Matter More Than You’d Think
Following the specific removal, attachment, and fit-test steps published for your model protects both your hearing comfort and your device’s noise-canceling accuracy. Skipping the fit test after a tip swap is the single most common reason people wrongly assume their ANC “got worse.”
Manufacturer support pages exist because connector shapes and materials vary by model, and generic advice can’t account for that.
An EGWAT Note on Replacement Tips and Product Support
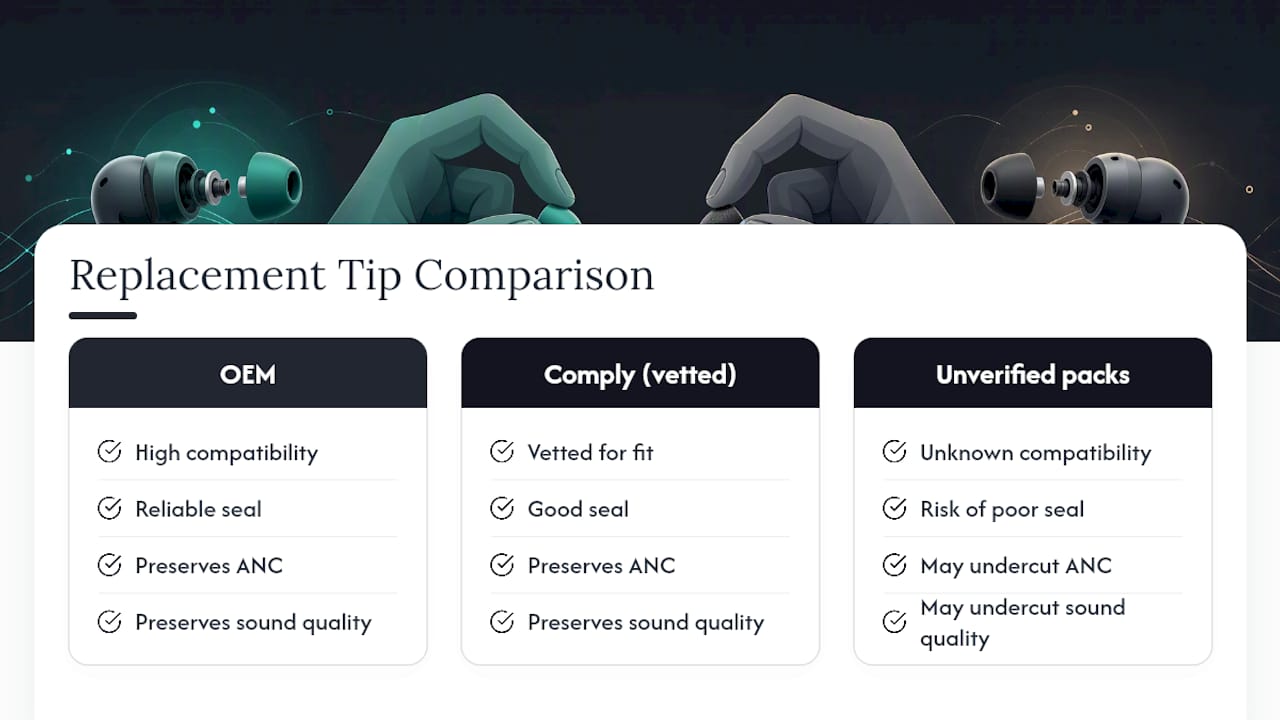
We generally point customers toward OEM tips or vetted third-party options like Comply rather than unverified bargain packs, since a poor seal undercuts everything you paid for in ANC and sound quality… If you’re stuck between sizes or brands, our team can help match tips to your specific model.
Get the Right Fit, Fast
If your current tips are cracked, flattened, or just never fit right, it’s worth checking whether the earbuds themselves have run their course. Egwat’s noise cancelling earbuds are built around exactly the seal-and-fit issues covered above, with sizing options designed to actually solve a loose or muffled fit rather than mask it.

If a worn connector or a tip that never quite seals has you troubleshooting more than listening, browsing Egwat’s accessories page gets you compatible tips and cases without guessing on fit. For anyone whose earbuds are past their prime entirely, the Wireless Noise Reduction Headworn Bluetooth Earphones come with sizing built for a secure seal from the first wear. A protective case from SmartProtectors is worth pairing with either, as dropped or scuffed connectors are half the reason tips stop seating properly in the first place. Check current sizing and stock on the noise cancelling earbuds page before you buy.
Frequently Asked Questions
Do all earbud tips come off the same way? Not exactly. Silicone tips generally pull straight off at the base, while foam tips often need a slight roll or compress before they release. Always grip the earbud body, not the sound nozzle.
Can I use any brand’s replacement tips on my earbuds? Usually not without checking first. Connector shapes vary by brand and even by model within the same brand, so confirm compatibility through a manufacturer chart or a trusted third-party guide before buying.
How do I know if my earbud tips need replacing? Look for flaking, tearing, or a tip that’s lost its round shape. If sound suddenly seems muffled or ANC feels weaker even after reseating, a worn tip is often the cause.
Is it safe to wash silicone or foam earbud tips? Silicone can typically handle mild soap and water if the manufacturer allows it, followed by full drying. Foam should avoid alcohol-based cleaners and heavy soaking, since it degrades the material faster.
What if I can’t get the old tip off? Stop forcing it after two gentle attempts. Twisting hard or using sharp tools risks damaging the connector, so contact manufacturer support instead of continuing to pull at an angle.
Sources
- Remove and attach ear tips on AirPods Pro - Apple Support
- How to remove, attach and clean your earbud tips
- Comply® Memory Foam Ear Tips | Upgrade Your Ear
- Tips on Tips: How to Shop for Replacement Earbud Tips | Wirecutter